How to Plan and Build a Fence That Actually Works
Welcome! If you’re a new or aspiring goat owner, you’ve probably heard the old saying: “If it can’t hold water, it can’t hold a goat.” After years of raising our own herd on our homestead in the French countryside, I can tell you there’s a lot of truth to that. Goats are intelligent, curious, and surprisingly adept escape artists.
A solid, well-planned fence is the single most important investment you’ll make for their safety and your peace of mind. This guide isn’t a set of rigid instructions, but a collection of essential lessons we’ve learned—sometimes the hard way—to help you plan your project with confidence.
Disclaimer: This article is based on our personal experience on our homestead. We are not professional fencing contractors or animal husbandry experts. It is your responsibility to research local conditions and choose a fencing solution that is safe and appropriate for your specific needs.
Step 1: Planning Your Layout – The View from Above
Before you buy a single post, grab a notepad and walk your property. A little time spent planning here will save you a lot of headaches later.
- Measure Your Perimeter: Use a measuring wheel or a long tape measure to determine the total length of your fence line. This is the most important number for calculating your material needs. Always add 5-10% to your final number to account for tensioning and unforeseen issues.
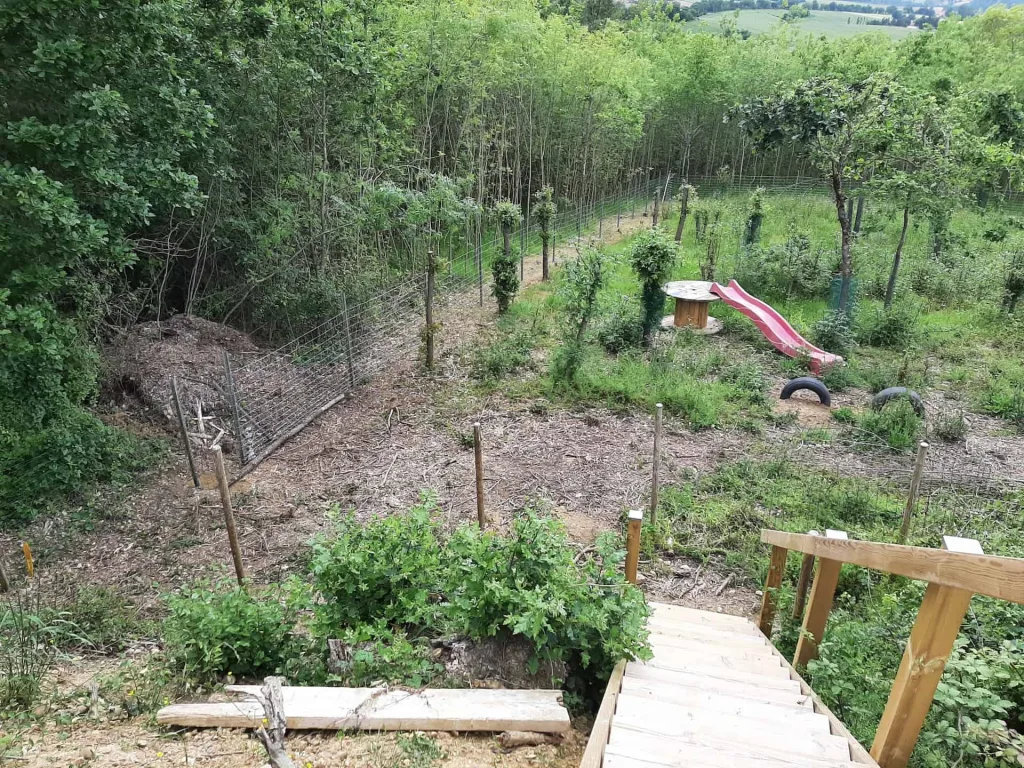
- Assess the Terrain: Is your ground flat or sloped? A fence on a steep slope will require more posts and careful tensioning. Walk the line and mark the locations for your crucial corner posts and any gate posts.
- Mark Your Line Posts: Once your corners are marked, walk the line and plan for your “line posts” (the posts in between the corners). A standard spacing is typically between 2 to 3 meters (6-10 feet).
Step 2: Choosing Your Materials – The Building Blocks of a Strong Fence
This is where the “buy it once, build it right” philosophy really pays off.
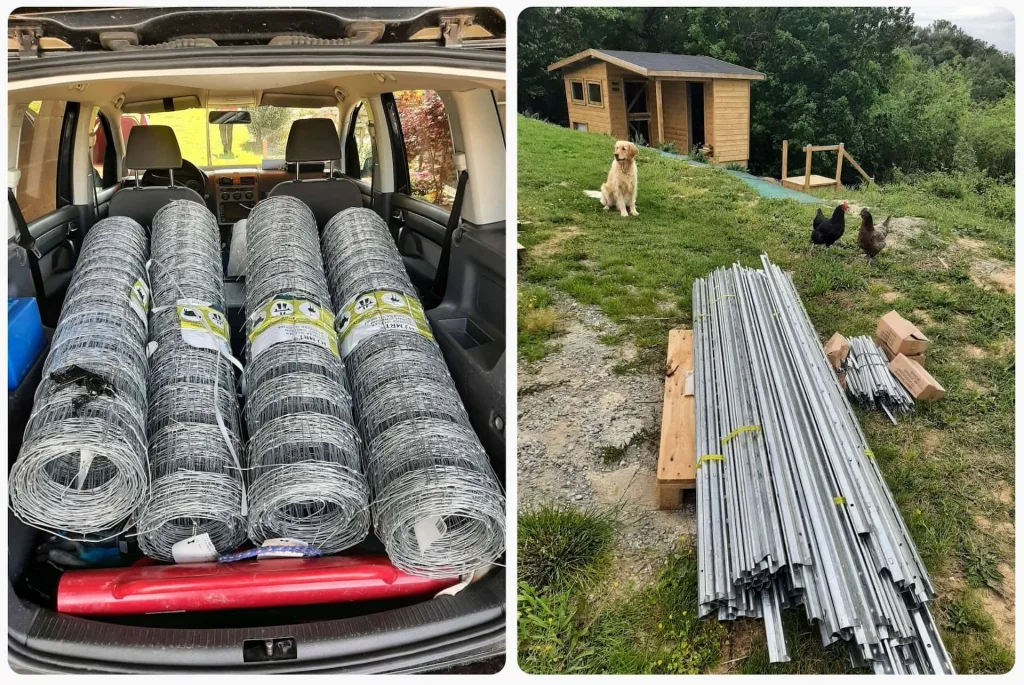
- Fencing: For goats–miniature goats in our case–a woven wire fence (also called field fence or sheep fence) is the gold standard.
- Height: A minimum height of 1.2 meters (4 feet) is crucial. We learned quickly that standard sheep fencing is often not enough to deter a determined jumper. Some goats may even need higher fences.
- Mesh Size: This is a critical safety detail. We recommend a small mesh size, especially at the bottom (e.g., 5×15 cm or 2×6 inches). Goats love to stick their heads through the fence to reach tasty plants on the other side, and a large mesh can trap their horns, which is a very dangerous situation.
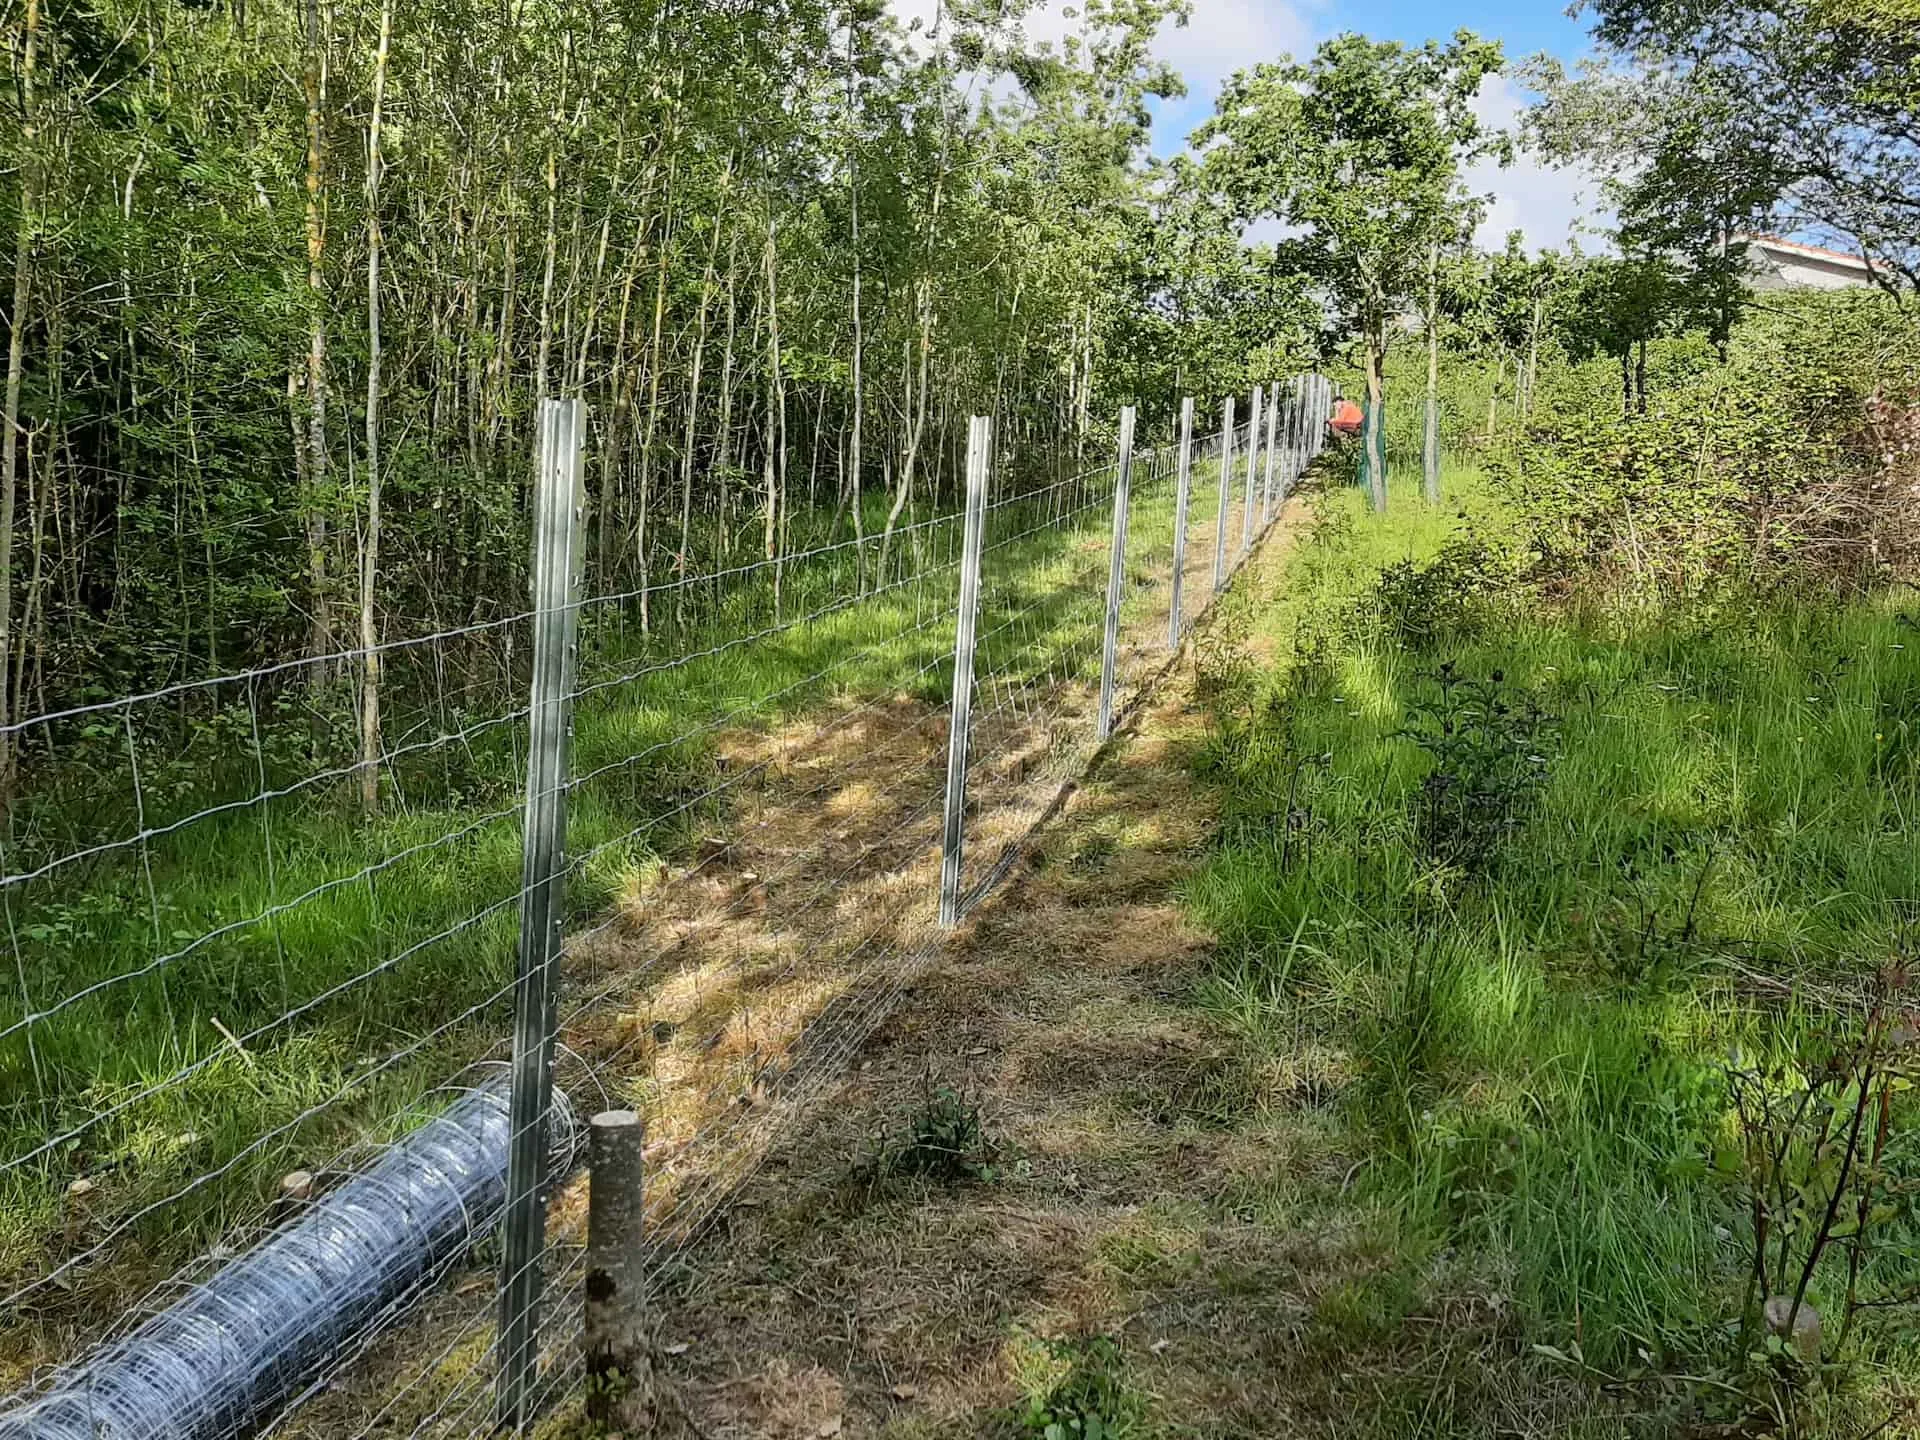
- Fence Posts: We chose metallic Z-profiles for their strength and durability, and for their ease of installation. The posts should be driven into the ground a minimum of 60 cm (24 inches), so the post length should be at least 2m (78 inches).
- Hardware – The Essential Connectors:
- Tensioners (Strainers): You will need in-line tensioners to pull the fence wire tight and to re-tighten it over the years.
- Wire: You will also need additional wire to fix the fence to the posts. Choose a wire of the same material and thickness as your middle horizontal fence wires (the top and bottom wires are usually thicker and harder to work with).
- Anchors: Those U-shaped metallic ground anchors secure the lower fence wire to the soil and avoid any gaps.
Step 3: Installation – The Hard Work Pays Off
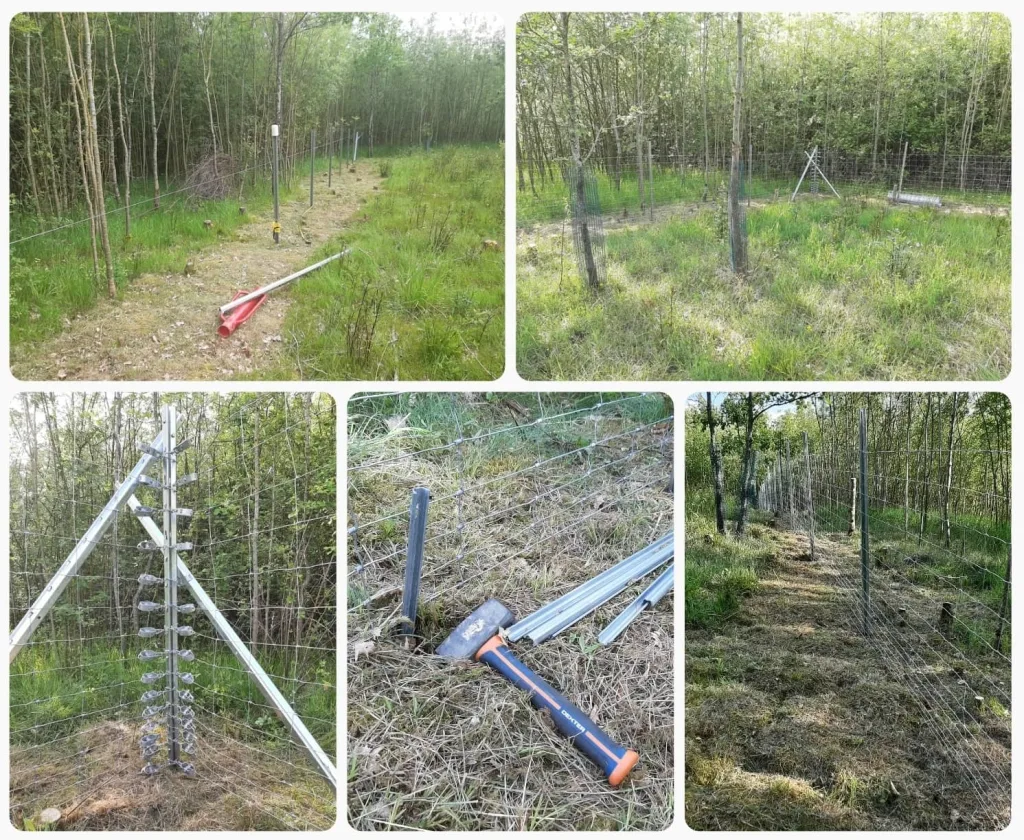
- Driving the Posts: The most efficient way to install your posts is with a post rammer (also called a post driver). This is a heavy, weighted steel tube with handles that you place over the post and use to drive it into the ground. It’s hard work, but it’s actually pretty fast.
- Bracing the Corners: Your corner posts will be under immense tension. They need to be braced. We did this by driving two more Z-profiles into the ground at an angle of 30 to 45 degrees, in the direction of the wire fence on both sides, and fixing them to the corner post with 8mm (3/8 inch) bolts and nuts (you will need to drill holes through the posts for this).
- Installing and stretching the Fence: This is the most critical step for a professional result. Attach one end of the fence roll to a corner post by wrapping each horizontal wire around the fence post and then wrapping it around itself. Then unroll the fence to the next corner and fix the horizontal wires loosely to the post with tensioners. Then tighten the horizontal wires individually one by one, making sure they are euqally tensioned. If your fence line is long or your ground is uneven, install the fence in shorter sections and tighten it to intermediate line posts, braced on both sides.
- Securing the Bottom Wire – No Gaps Allowed: A tightly stretched fence is a great start, but goats are experts at testing for weaknesses, especially at ground level. On uneven terrain, you’ll notice gaps appearing under the bottom wire between your posts. A curious goat will find these gaps and can push or squeeze underneath to escape. To prevent this, it’s essential to secure the bottom wire to the ground. You can do this by driving long, U-shaped ground anchors over the bottom wire and deep into the soil at regular intervals between the posts. This eliminates any gaps and creates a truly secure perimeter from top to bottom.
Step 4: The Electric Wire – A Simple Solution for a Big Problem
Goats will test your fence. They will climb on it, rub against it, and push on it. A simple electric wire helps to avoid this.
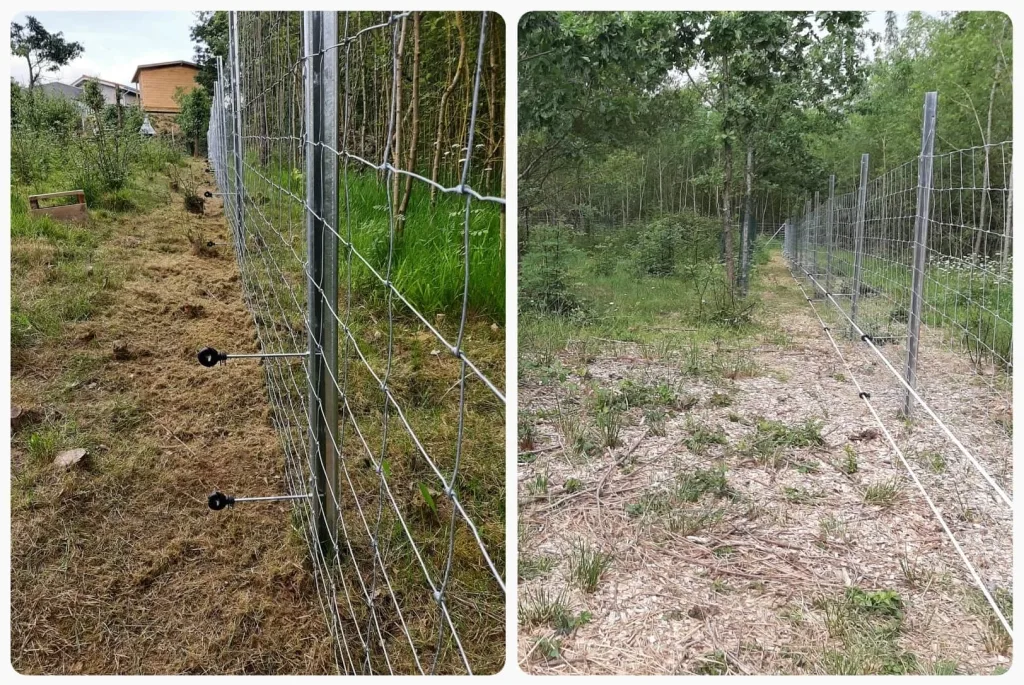
- The Setup: We use a single strand of electric fence wire offset from the main fence on the inside of the pasture, positioned approximately 30 cm (12 inches) off the ground. This wire is connected to a standard electric fence energizer (the generator that sends the pulse).
- Our Experience: Many guides recommend two wires (e.g., at 10cm and 30cm – 4 inches and 12 inches), and we started with that. However, we found the lower wire was constantly getting grown over with grass, which would short it out and make is less effective. We removed it and have found that the single upper wire is perfectly sufficient to keep our goats from ever touching the main fence.
- A Safety Warning: If you are using a metal woven wire fence, you must be careful that your electric wire does not touch the metal fence anywhere. The metal fence is directly connected to the ground. If the electric wire touches it, it can create a powerful shock for anyone who touches the fence. This is based on our own (unpleasant) experience! Make sure to install warning signs on the perimeter of your fence.
How to Calculate Your Fencing Materials: A Step-by-Step Guide
A successful project begins with an accurate materials list. Use these steps to ensure you have everything you need before you begin.
- Woven Wire Fencing: Start with your total perimeter measurement. Always add 5-10% extra to account for tensioning, overlaps, and unforeseen issues.
- Line Posts:
- Divide your total perimeter length by your chosen post spacing (e.g., a 100-meter fence with 2.5-meter spacing requires 40 sections).
- You will need one post for each section, plus one final post to end the line. (e.g., 40 sections = 41 line posts).
- Corner & Gate Posts: Walk your marked fence line and count the number of corners and gates.
- Corners: Every corner requires one main corner post.
- Gates/Doors: Every gate requires two main posts, one for each side.
- Brace Posts: These angled support posts are critical for any post under tension.
- You will need two brace posts for every corner post.
- You will need two brace posts for every gate post.
- We used the same Z-profiles as main posts and brace posts.
- For any long, straight fence line (e.g., over 50 meters), you should plan for an intermediate “tensioning station” with a braced line post. This will also require two brace posts.
- Tensioners (Strainers):
- Count the number of horizontal wires on your chosen fencing roll.
- You will need one tensioner for each horizontal wire at every point where you start and stop a roll of fencing (at every corner, gate, and intermediate station).
- Calculation: (Number of horizontal wires) x (Number of tensioning stations) x 2 = Total Tensioners.
- Tying Wire: A single roll of medium-gauge wire is usually sufficient for tying off fence ends and securing it to posts.
- Ground Anchors: To prevent goats from pushing under the fence, plan for two U-shaped ground anchors for each section between two posts, especially in areas with uneven terrain.
Recommended Tools & Equipment
Having the right tools makes the job safer, faster, and more professional.
Installation & Assembly:
- Post Rammer (Post Driver): The most essential tool for efficiently driving your fence posts into the ground.
- Heavy Hammer: For driving the brace posts, general adjustments, and driving ground anchors.
- Plastic Protection Cap: To place on top of the metallic Z-profile posts to prevent damage when using the rammer or hammer.
- Drill with Metal Bits: For drilling the holes needed to bolt your brace posts to your corner/gate posts.
- Wrenches: To tighten the nuts and bolts on your brace posts.
- Combination Pliers: For general gripping and twisting.
- Fencing Pliers or Pincers: For cutting fence wire. Bolt cutters can also be very helpful for thicker gauge wire.
- Tensioning Tool: Adjustable locking pliers.
Layout & Measurement:
- Long Tape Measure or Measuring Wheel: For accurately measuring your perimeter.
- String Line / Mason’s Line: For tracing your fence perimeter and ensuring your posts are installed in a perfectly straight line.
- Stakes or Marking Paint: To mark your post locations.
- Spirit Level: To ensure your posts are driven perfectly straight (plumb).
Safety:
- Heavy-Duty Protective Gloves: Essential for handling sharp wire and preventing blisters.
- Safety Glasses: Non-negotiable, especially when cutting wire under tension.
Ready to build you own?
Building a fence is a significant investment of time and effort, but it’s one of the most rewarding projects on a homestead. By planning carefully and using the right materials, you can create a secure perimeter that will protect your herd for years to come. A great fence is the first step to a happy herd, and a well-designed shelter is the next.
Be sure to check out our other blog posts.